Schedules can be used for Communication Rules, Reports, and Preventative Maintenance Programs. This feature allows you to create several types of schedules based on holidays, weekends, one week day, etc.
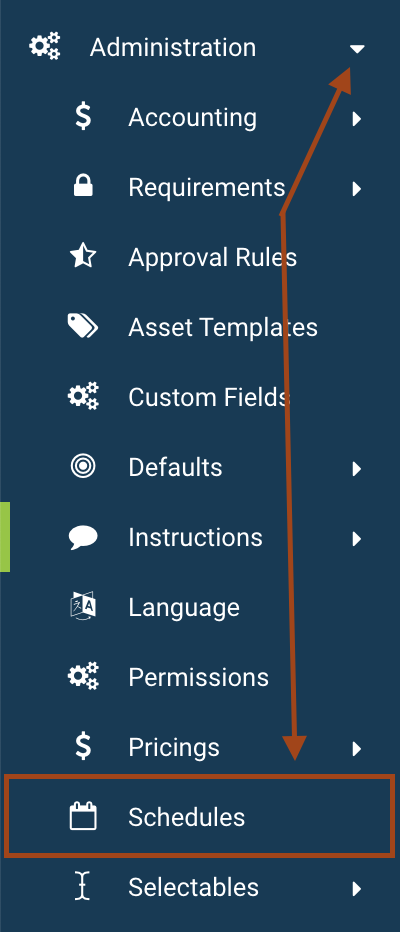
To update or create schedules, you do need to have admin permissions. Click on Administration>Schedules to open the Schedules grid.

Steps to Creating Schedules
- Click on the plus sign in the top right-hand corner of the grid.
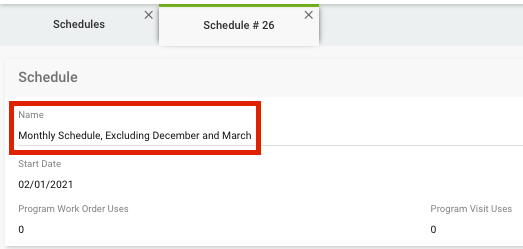
- Type in a Name (or leave the default name).
- Select a Start Date (or leave the default start date).
- Select the plus sign in the middle of the screen to create the 'Pattern'. (The pattern is what determines the schedule and must be created in order for the schedule to work as intended).
- Select the desired Pattern Type using the drop down on that field.
- One Time - select the Occurrence Date.
- Daily - type how many Days Apart this schedule should run.
- Weekly - type how many Weeks Apart and which Days of Week this schedule should run.
- Monthly - Same Date - type the Months Apart and which Days of Month.
- Monthly - Same Week - type how many Months Apart, select the Week, and which Days of Week.
- Yearly - Same Date - select the Month and type the Days of Month.
- Yearly - Same Week - select the Month, Week of Month, and Days of Week.
- If you have specific days to exclude, set the Excluded Dates=true and set the pattern accordingly.
- Once you have ensured the Upcoming Occurrences are correct based off the patterns set, save the Schedule by using the save icon in the top right. If your Upcoming Occurrences are not correct, update the schedules Start Date.
NOTE: Naming the schedule will assist in identifying it easily. For the example in the video, I named this schedule Monthly Schedule, Excluding December and March!
