The Departments Grid, similar to Regions and Districts, allows you to create users and associate stores/work orders.
Departments must have an associated Division to exist, much like Regions and Districts. Before creating a Department, please follow this link to learn how to first Create a Division!
To Create a Department
Step 1) Navigate to Admin>Selectables>Departments.
Step 2) Click the plus sign (+) in the top-right hand corner.
Step 3) Add a Department Name.
Step 4) Add a description and/or a department email if necessary.
Step 5) Select the associated Division.
Step 6) If this department needs to be active right away, leave the Active Toggle set to TRUE.
Step 7) Save the Department.
Navigation within a Department
Overview: This screen is where you can update any of the departments information. After making any changes, select the Save Icon in the top right hand corner.
Stores: This screen is where you will see the stores associated with this Department. You must associate a store from within a store record.
Work Orders: This screen is where you will see any work orders associated to the Department. You can associate work orders in two ways:
1) Automatically from selecting a store that is already associated to a division/department.
2) Simply select a division and department from the drop downs on the work order creation screen.
Adding Users to a Department
Users must be added from the Administration>Users menu.
Step 1) Navigate to the Users menu under Admin.
Step 2) If the user exists already, find the hamburger menu on their record.
Step 3) Click on the hamburger menu and select Manage Departments.
Step 4) Select the Department to associate the user with.
Step 5) Select Submit.
Step 6) Select Done.
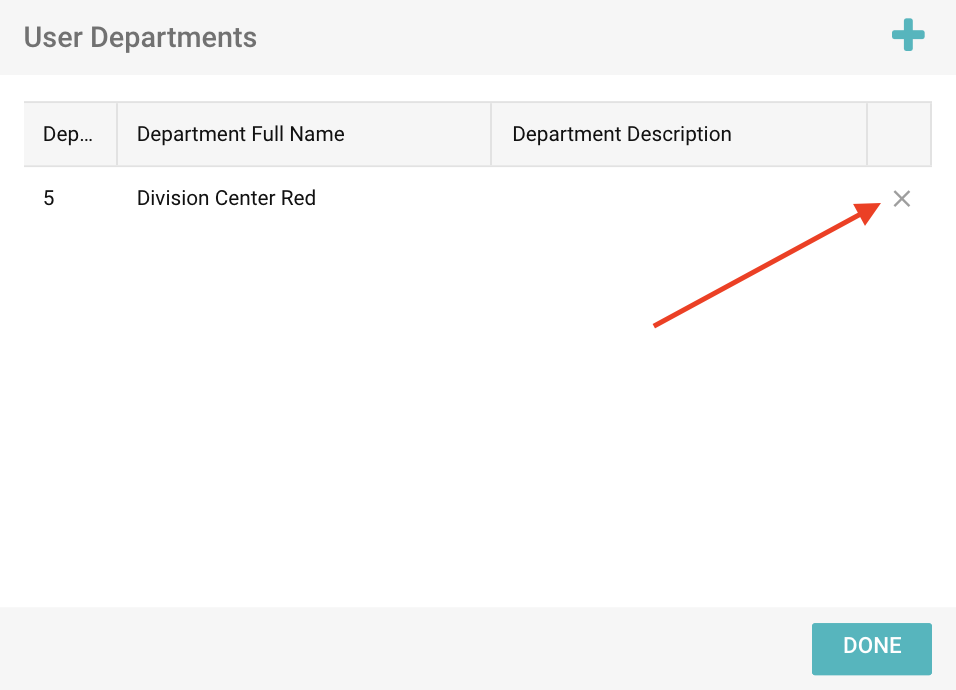
Note: To delete a department association, follow steps 1-3 from above, and select the X on the department to delete.
